In the Element ID text
box (displayed in Simple view)
enter the value for the id attribute. It will
uniquely identify the element (Windows Media
movie) in page.
In the W text box (displayed
in Simple view) you can enter
a new width (in pixels) for the Windows Media
movie.
In the H text box (displayed
in Simple view) you can enter
a new height (in pixels) for the Windows Media
movie.
Note: To keep the original size of the movie, leave the W and H text boxes to their
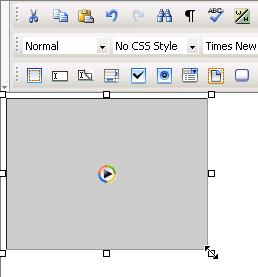
default values. You can also resize the Windows Media
movie without using the Windows Media Properties
panel. Simply select it in the D-Web editable
region and then drag the resize handlers:

The Initial Size button
(displayed in Simple view), when
clicked, brings the Windows Media movie to its
original dimensions.
Click the Play button
(displayed in both Simple and
Advanced view) when you want the
movie to start playing. Its label will then turn to Stop.
By clicking the Stop button, the Windows
Media movie will cease playing.
The File text box (displayed
in Simple view) shows the path
on the remote server of the currently selected Windows
Media movie. If you want to replace the selection with another
movie, click the button next to the text box and browse to another file.
You can also manually change the path and make it point to a new Windows Media movie.
With the Alternate Image
text box (displayed in Simple
view) you can set an image to be displayed in the browsers that do not
have support for playing Windows Media movies.
You can either enter the full path (URL) to the image previously uploaded
on the remote server or you can click the Browse for
File button to select an image from the server.
By clicking the Advanced
button (displayed in Simple view),
the Windows Media Properties panel will switch
to Advanced view. You will be
offered the possibility of setting advanced options for the currently
selected Windows Media movie.
If the Auto Start option
(displayed in Advanced view) is
checked, the Windows Media movie will start
playing as soon as the page loads.
If the Show Controls
option (displayed in Advanced
view) is checked, controls such as pause/play, stop, rewind, forward will
be displayed under the actual movie area in page.
If the Show Display
option (displayed in Advanced
view) is checked, the playlist name and the name of the Windows
Media movie file will be shown under the movie area in page or
under the controls bar, if they were set to show.
If the Show Status Bar
option (displayed in Advanced
view) is checked, you will be told how much time out of the total movie
time has passed since the movie started playing. This information will
be displayed under the display area, if it was set to show; if not, under
the controls bar, if it was set to show; else, right under the movie area.
The Align drop-down
menu (displayed in Advanced view)
contains the options for the Windows Media movie
alignment relatively to the page:
Default
Baseline
Top
Middle
Bottom
Text Top
Absolute Middle
Absolute Bottom
Left
Right
By clicking the Simple
button (displayed in Advanced
view), the Windows Media Properties panel will
switch to Simple view. You will
be offered the possibility of setting various options for the currently
selected Windows Media movie.


